# Test
# Test Capture Grid
- Purpose
- Capturing and clustering the findings from the test phase
- Time required
- During the whole test phase
- Participants
- Design Thinking team
- Level of experience
- Beginner
# What is it about?
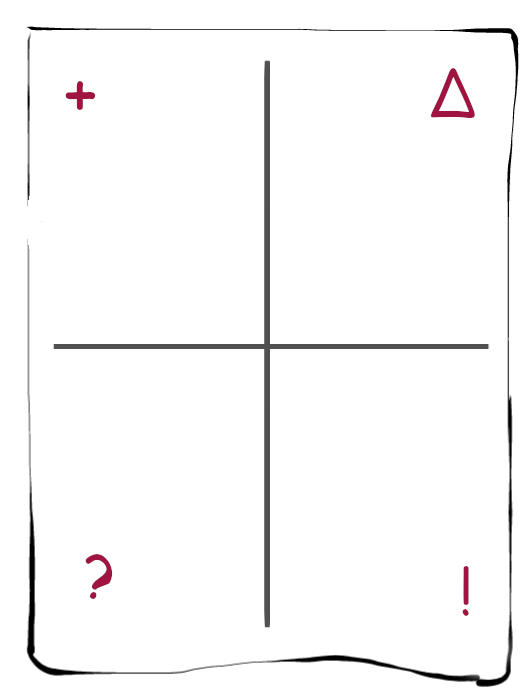
With the Test Capture Grid you can capture the results of a user test. With the grid you can visualise the positive and negative findings, which new ideas arose and what was confusing during testing. Alternative names for this method are Feedback Capture Matrix and Feedback Capture Grid.
# The goal
The Test Capture Grid allows you to collect all the findings that occur during testing and group them within the four factors.
# How to do it?
- Sketch the grid on a large whiteboard.
- Start testing the prototype.
- As soon as any findings occur, always write them into the grid.
- After each test run, the grid should be reviewed and discussed with all participants.
- In the next run, the grid can be further filled, supplemented or changed.
# When do you need it?
The Test Capture Grid can be applied as soon as you start testing your prototype and can be refilled to the end of the process.
# Resources
- Whiteboard that may remain painted for a longer time
- Marker
# Advantages
With the Capture Grid, prototypical ideas can be tested quickly and easily. The test results can be documented in a very simple form.
# Disadvantages
The information captured is highly dependent on the perception of those responsible for documentation. With larger test runs, the tool (which is limited to one page) can reach its space limits.
# Keep in mind
A grid full of insights is only useful if they are discussed and taken into account in the design of the next prototyping or test phase. Be sure to discuss the Test Capture Grid regularly with the team.
# See also
| Previous methods |
Alternative methods
| Following methods |
# Sources
- Uebernickel, Brenner et al: Design Thinking: Das Handbuch (German) (opens new window) Frankfurter Allgemeine Buch. ISBN: 3956010655.
- Design Thinking Bootleg (opens new window) Hasso Plattner Institute of Design at Stanford University.